
How Can I Print My Address and Mail To From Word?
How can I print my address and mail it to Word? This article will help you create a mailing list in Word, edit recipient lists, print an envelope, and set up a mail merge. You’ll also learn how to insert a return address, set the font, and make a mail merge in Word. In this article, I’ll demonstrate each of these steps and explain how to use each feature to your advantage.
(Looking for “Bulk mail outsourcing“? Contact us today!)
Create an address list in Microsoft Word
There are two ways to create an address list in Microsoft Word. The first is to use an Excel spreadsheet as a source. This format includes headers, cells, and a table for labels. When you create a list in Excel, you can enter data in individual fields, like the address of a house, and then insert the data into the appropriate cells. Once you have entered data, you can add rows and records to your list.
Alternatively, you can create an address list in Word by using Outlook’s Address Book feature. In this case, you can import your Outlook Address Book and insert the contact information directly into your document. However, you should remember that this approach may result in errors or typos. To avoid such mistakes, you should always type the address in the right field to ensure that it matches the recipient. If you make a mistake, you can undo the change and re-import the address list using the same method.
Edit recipient list in Word
To send your mail merge messages to recipients, you can use the Mail merge feature in Microsoft Word. In this feature, you can edit and delete your recipients’ records. Click the Edit recipient list in the Word button to open the table of data for your mail merge messages. The Mail merge recipient dialog box will appear and ask you if you want to update the recipients or save the data source. Click the OK button to continue. When finished, click the Save button to save the changes you have made.
To merge two files, connect an Excel sheet to your Word document. From the Mail Merge Recipients tab, click Add and Remove. You can sort, filter, dedupe, and validate recipients. You can also change the format of the text and include your logo. This feature is a time-saving feature that will simplify your mail merge projects. However, you may find that it is not enough to just change the look of your mailings.
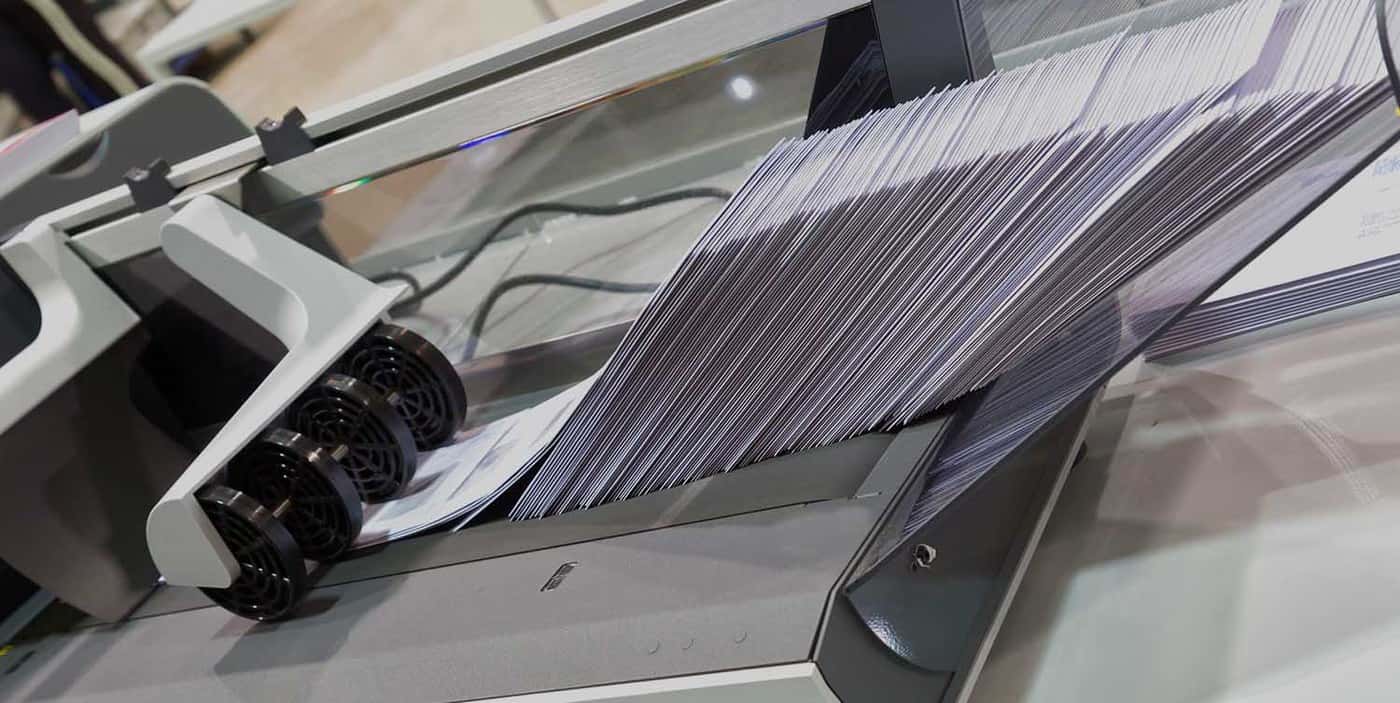
Print an envelope in Word
If you want to print an envelope with your name and address on it, you can do so in Word. Alternatively, you can use the Address Book feature built into your computer to insert the address. Then, click on the envelope tab, type the return address, and hit Print. Most envelopes work with the default settings, but if you need to change them, you can do so. Just be sure to check the printer’s specifications first.
To format your address on your letterhead, select the appropriate font style. To avoid a confusing font style, pick a font with a clear, simple design. You can skip using cursive and italics if you want to avoid making it difficult to read. Type the recipient’s address in the space provided. You will be given a preview on the right side. If you don’t like the preview, simply make adjustments to the font size and click OK to save your changes.
Set up a mail merge in Word
If you want to automate sending out bulk emails, you need to learn how to set up a mail merge in Word. You can do this in a few ways. One of the simplest ways is to use the Mail Merge Wizard. This feature will allow you to edit and manage your recipient list. It allows you to check or uncheck boxes to include the people you want to send your mail to. Once you have your list of recipients, you can start setting up your mail merge.
Usually, a Microsoft Excel workbook database is the best option for mail merge in Word. The process uses an Excel database to create a database that Word will use. For trial purposes, you can make an Excel file with all the necessary contact details. Make sure to only have column headers in the first row, beginning with cell A1. This will help you to create a template document that contains placeholder names for each recipient.