
How do you Merge Emails and Paper Envelopes in Word and Print?
When you’re emailing, it can be helpful to merge all your emails into one document. This way, you don’t have to glance through each email to find the one you need. You also get the benefit of printing out the document and using that as a reference. There are a few things you need to consider before merging emails and envelopes in Word and Print.
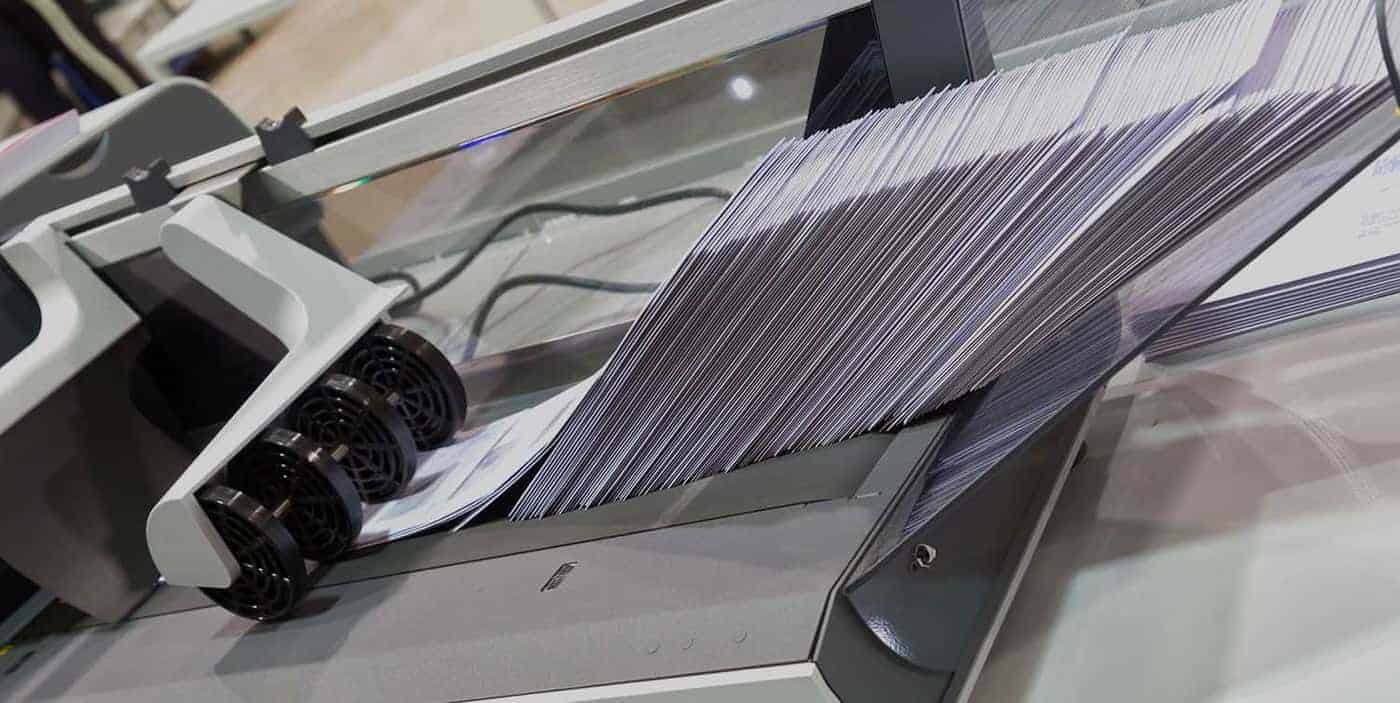
(Looking for Print And Mail Outsourcing Services? Contact us today)
How do you Merge Emails and Paper Envelopes in Word and Print?
To merge an email and paper envelope in Word, follow these steps:
1. Open the document you want to merge.
2. On the left side of the document, click on the Add Custom Fields button and enter the following fields:
Address
Subject
To
Reply-To
3. Click on OK to add the fields and click on Merge.
4. The merged email and paper envelope will be opened in Word.
Tips for Successfully merging email and paper envelopes in word and print
To merge email and paper envelopes in one operation, follow these steps:
1. Open the email program of your choice (Word or Outlook).
2. Choose the “ Merge Email and Paper Envelopes” option from the main window.
3. Enter the email addresses of both pieces of paper into the fields on the left side of the screen.
4. Click on the “ Merge” button to merge the two papers into one envelope.
Merging email and paper envelopes can be a simple, but important, task. By following these tips, you can make sure that your Merge Email and Paper Envelopes in Word and Print project is successful.