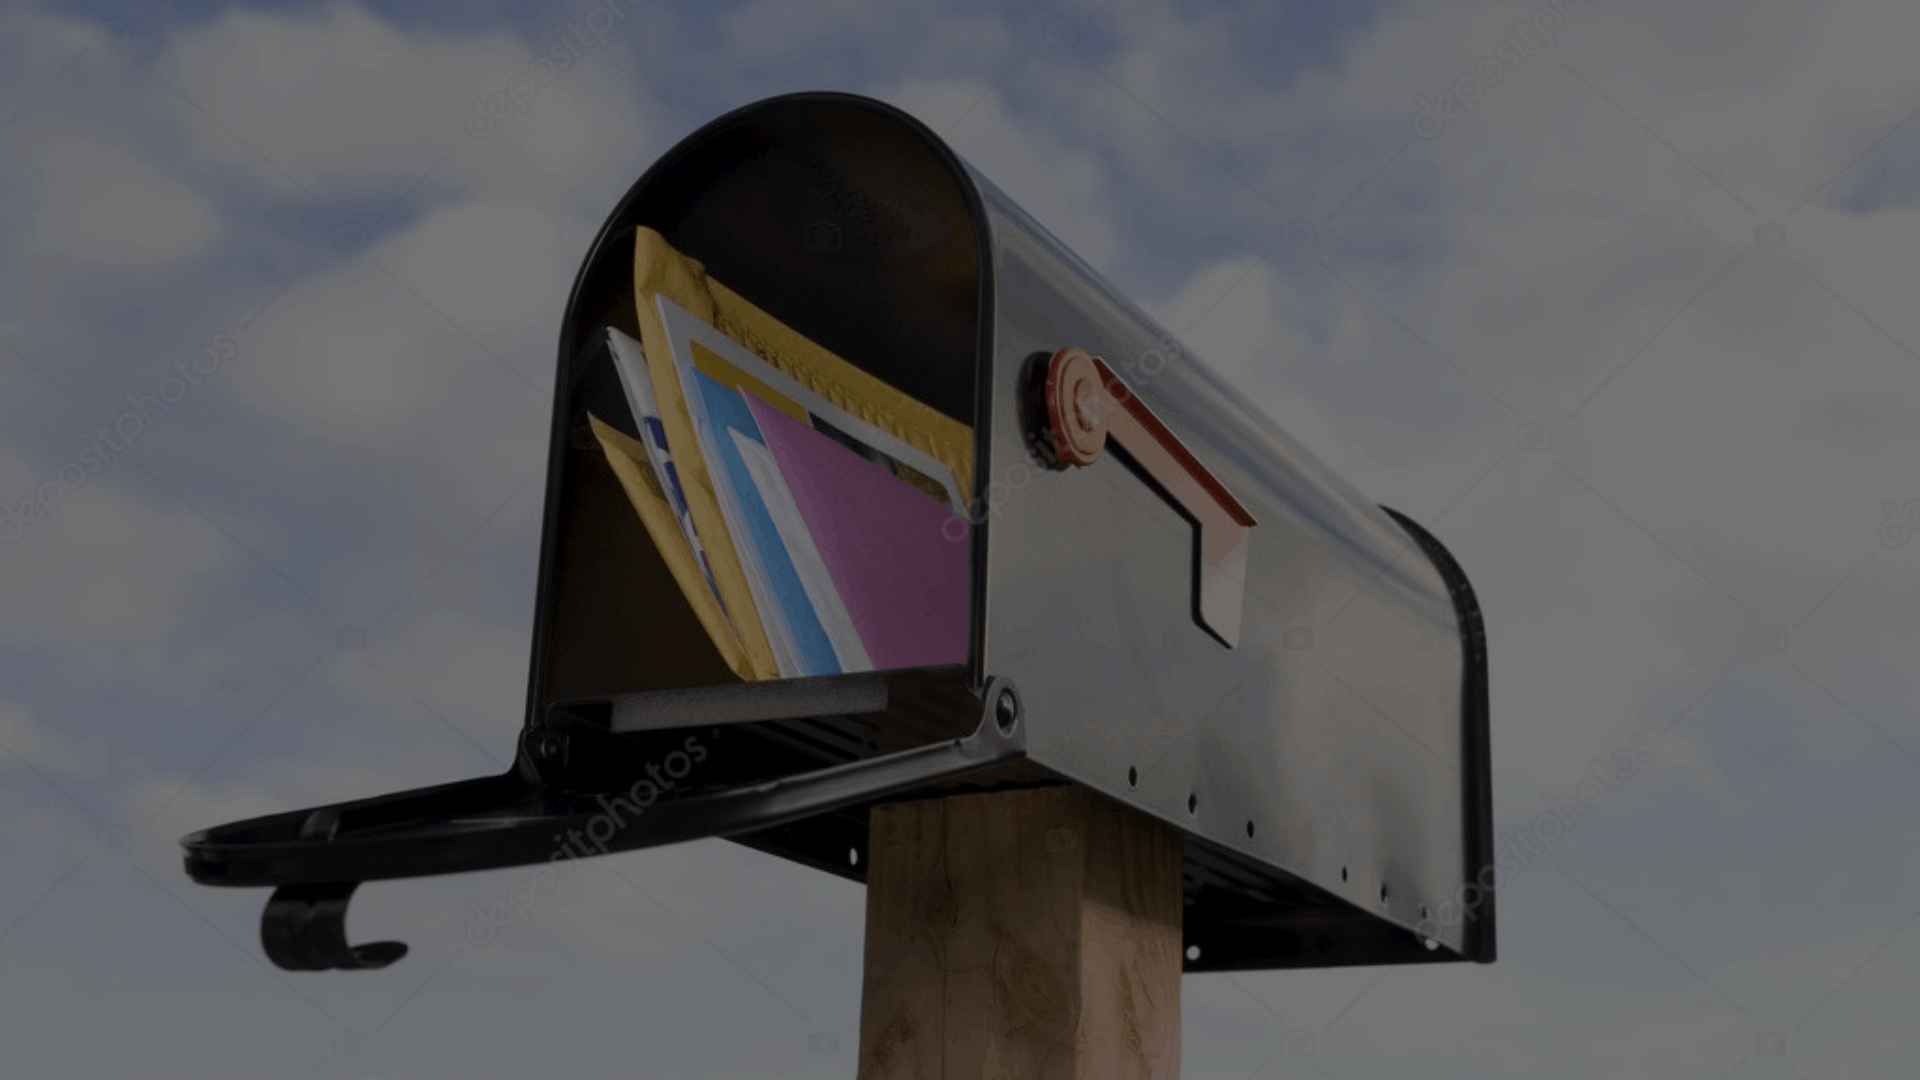
How to Create Mailing Labels in MS Word?
If you are looking for instructions on how to create mailing labels in MS Word, then you have come to the right place. In this article, you will learn how to create your label templates, Set up a mail merge, and change the font on a label. You will also learn how to print multiple labels. Once you have created your labels, you can easily print them out. To get started, you must click the Create button.
(Looking for patient statement printing and mailing services? Contact us today!)
Set up a mail merge
When you use Mail Merge in Microsoft Word, you can insert the data from the source Excel file into your main document. In the main document, you will see the data in the form of columns with carets or grey shading. In the same way, the mail merge process replaces the data in the source Excel file with the values from your main document. By using Mail Merge, you can save yourself hours of labeling time.
Create your label templates
You can use a program such as Word to create your mailing label templates. These programs have limited formatting options, but they do make it easy to create labels for different mailings. To create a label template, you must first create a word document. Then, save it to your SkyDrive or OneDrive account. If you’re using Microsoft Office 365, you can find your new label template on your Start screen.
Change the font on a label
To change the font on a mailing label, open a Word document, and select the appropriate labels. Right-click on the address box, and choose Font. The Font property bar will pop up. Change the font, size, spacing, and more. Then click OK. The label will appear in Word. If you want to insert a picture, you can continue to the next section. Then save the Word document.
Print multiple labels
You can use Microsoft Word to create and print custom label templates. Depending on your printer and paper, you can print several labels on one page. You can also insert photos into the labels. To print labels, simply select the text and photos you want on the label and click the “Paste” option from the Edit menu or Save As window. You can then preview the label before printing it. Once you are done, you can mail the labels!
Print return address labels
If you frequently mail a lot of mail, you may want to learn how to print return address labels in Word. These handy stickers can save you a lot of time when it comes time to mail your letters. Plus, they’re much more economical than using letterhead envelopes. Simply type your address in Word and save yourself the hassle of printing the same label over. You can even use a template to create special labels that are specific to your business.