How to Print and Mail to Address Using Microsoft Word?
If you need to print a mailing label, you’ve probably wondered how to do it. This article will provide some tips for printing your label using Microsoft Word. It also shows you how to use a self-adhesive label and a calculator. After you have a mailing label, the next step is to determine the right size for the label. You’ll want the label to be smaller than the address itself, so you can avoid the need to enclose a self-adhesive label.
(Click here to know the Towne Mailer Direct Mail Envelope)

Using Microsoft Word
You can design and print your mailing labels by using Microsoft Word. There are many label templates included in Word. Customize the text and colors to make them your own. Then reuse your labels when you move offices or change names. If you want, you can even save your labels for future mailings. These instructions will help you design your labels in Word. You can find additional stories about using Word to create labels at the Insider’s Tech Reference Library.
Using a labeler
If you’re new to using a labeler to print and mail to addresses, you can start by printing your list on a blank sheet of paper. Then, use the print feature to add your labels to your mailings. If you’re using a labeler that requires a label template, you can use that one instead. Then, make sure to delete any old addresses and re-save your document to use it again later.
Using a self-adhesive label
When using a self-adhesive mailing label to print and mail your address, make sure to follow the following guidelines. First, make sure that the label is printed in a machine-readable font. It should also not contain any graphics, logos, or text that might confuse sorting machines. If you need to include a return address, use a different label if it will accommodate both.
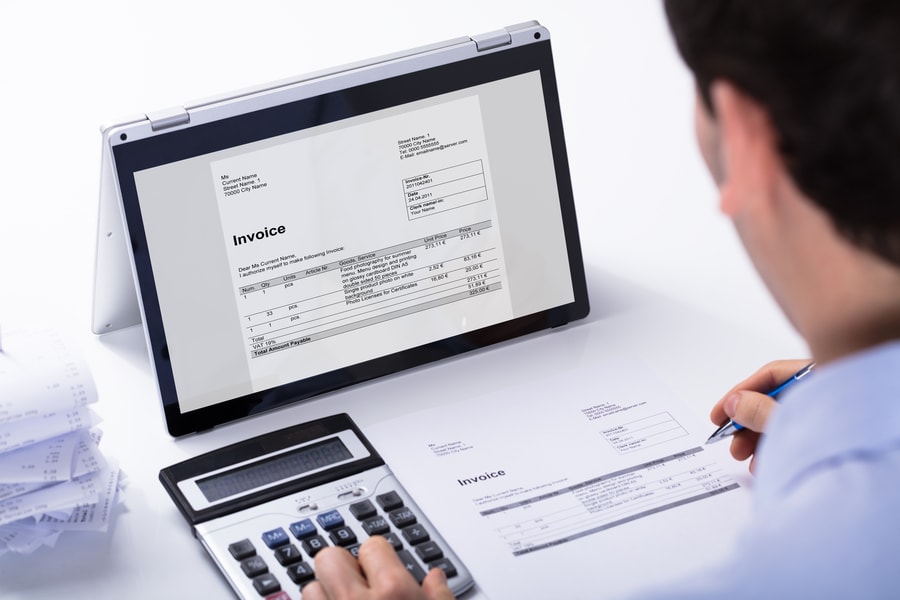
Using a calculator
Whether you’re an accountant or just like to do your math by hand, a printing calculator is the fastest way to print and mail your calculations. Not only is it convenient, but it also gives you instant proof of your work. To prove this, Monroe hosted a Rutgers School of Business event where they challenged students to a race. The Monroe UltimateX printing calculator easily defeated a Microsoft Excel spreadsheet and two cell phone calculators!
Using a template
The first step in using a template for printing and mailing to address labels is to merge the label template with the data source. Test the alignment of the fields and then select the FROM option to print the address labels. This will make the labels easier to read and will also save you time and effort. The next step is to set the label paper color and style. After that, you can continue the process of printing your labels.